Whether it’s a cutoff wheel, a grinding wheel, a coated product, or even a file, the goal is to create conditions in which the aluminum doesn’t gum up the abrasive. Shown here is an abrasive in use that is specifically designed to lower thermal loads. Images: PFERD
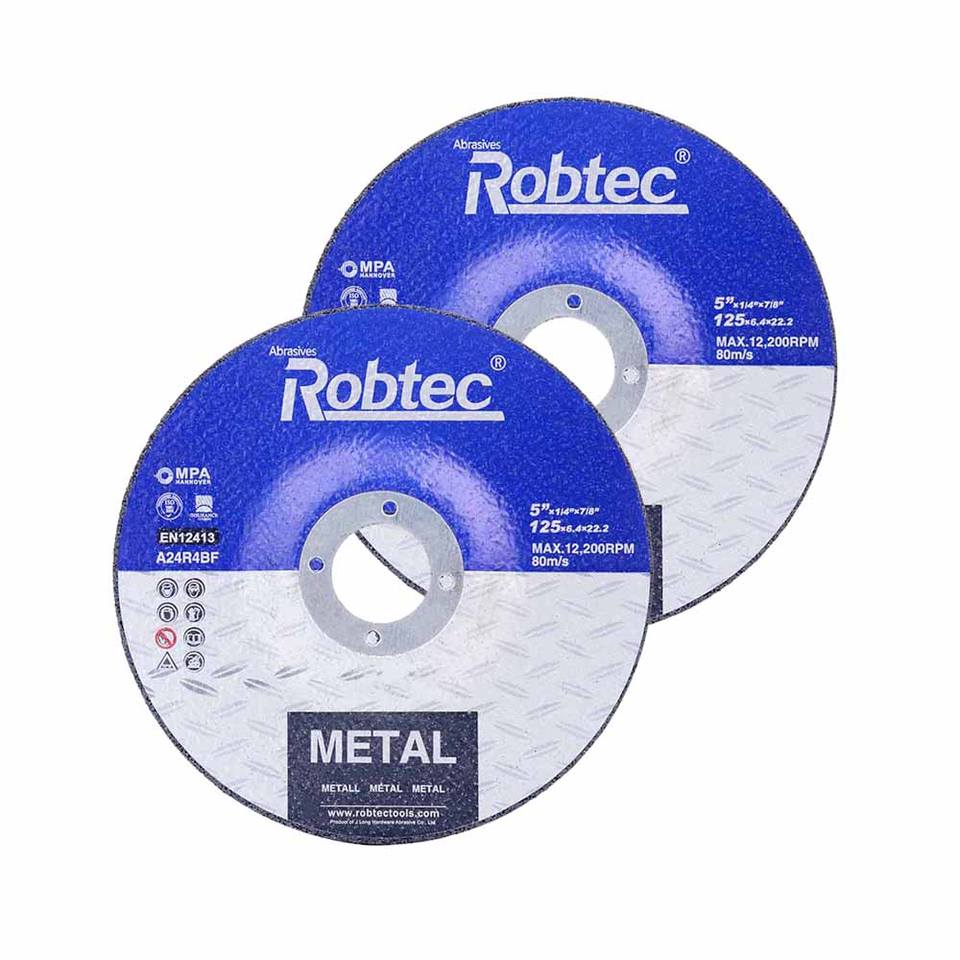
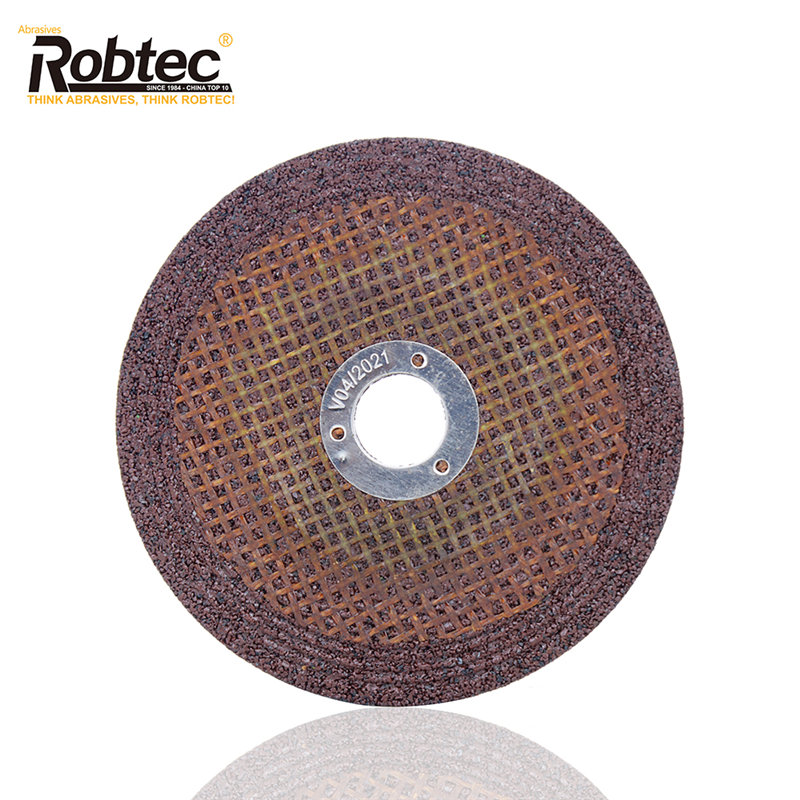
Aluminum is a non-ferrous metal, meaning it contains no iron. It falls into the same category as a brass or bronze. From a hardness standpoint, it is considered very soft. This means it has a tendency to load up whatever consumable you are using when preparing it for welding or painting. 100mm Angle Grinder Discs

Therefore, the goal is to find a product that will make it more difficult to achieve those loading properties. Whether it’s a cutoff wheel, a grinding wheel, a coated product, or even a file, the goal is to create conditions in which the aluminum doesn’t gum up the abrasive. Aluminum comes in many different grades, from very soft and malleable aluminum to a 7075 series, which is quite hard. Still, the properties of the material demand attention due to its softness.
Aluminum is a great conductor of both heat and cold. It transfers both readily, which is why it is used in products such as pots and pans—a stainless steel pan with an aluminum core will allow heat to transfer much quicker and more evenly. It also makes such a product lighter. Aluminum is used in everything from utensils to ship building, where builders have to be cognizant of weight concerns.
From a safety standpoint, working with aluminum using abrasives creates aluminum dust, which can be very explosive. It’s important to have safety in mind, using a downdraft table when possible and wearing proper PPE.
When choosing what tools to work with on your aluminum parts, from pre-weld part cleaning to polishing, you must take into account these basic material properties and address them effectively.
When evaluating a process, you need to be able to answer three main questions: What materials am I working on? What kind of tool am I using? What is my end goal (cleaning, blending, polishing)?
This second question is the heart of this discussion. Are you using an electric or pneumatic tool? If it is electric, is it variable-speed, straight-shaft, or right-angle? Similar questions must be answered for a pneumatic tool. What RPMs are you employing? What kind of mounting systems are you using? Is it a threaded arbor? That will affect what products will suit a particular tool. Adjusting the air flow on a pneumatic tool will only affect your torque, not your speed. If the tool is not rated properly, it can stall out when you apply pressure.
Most pneumatic tools are made to run between 90 and 95 PSI, and they are a fixed speed, between 18,000 and 25,000 RPM. Make sure to understand your tooling so your supplier can guide you in the right direction.
If you are shearing your material in preparation for use, you will need to remove a sharp burr on the sheet to handle it without risking injury. Commonly, shops will choose to use a 50-mm flap disc to run along the edge. However, this can also be done using a file, which doesn’t require power or pneumatics. This is a much more inexpensive approach to the issue. An added positive to this approach for aluminum is that it will not create airborne particulates.
When most people think of oxidization, they think of rust on carbon steel. However, every material rusts in its own way. Aluminum has a tendency to turn a gray-white colour. Preparing your material requires removing that oxidize layer to reach the base.
Sometimes the right tool for a job can be as simple as picking up a file, which doesn’t require power or pneumatics. An added positive to this approach for aluminum is that it will not create airborne particulates.
Brushes are the ideal tool for this. It’s important that it be a stainless steel product. If you use a carbon steel brush on aluminum, it can become embedded in the material and affect the finish and any welds on that surface.
Brass brushes can be used, but make sure it is made with brass wire and not brass-coated wire. Brass-coated wire is less expensive, but once the coating wears off, again, it will contaminate the base material.
There are two different types of wire brushes, crimped wire brushes or knot-style brushes, which takes several wires and twists them together. In cleaning and prep work on sheet, round, or square stock, a crimped wire brush in either a cup or bevel form is ideal. The wires on the brush will pick at the contamination, lift it, and release it, whereas a knot brush will pick up and hold the contaminants, which you do not want.
A bevel-style brush can be particularly useful if you are working over a larger surface. For very large surfaces, say 1.75-in.-thick plate used to build aircraft carriers, a much larger cup-style brush is an ideal option. The key is that you want to keep the surface dimensionally similar to where you started.
If you are preparing to do a butt weld, it is necessary to perform a bevel. Traditionally, shops would use a stock grinding wheel to grind those bevels in. The thickness of the plate will dictate what kind of angle is necessary and how deep that angle needs to be. Given that this is an approach that depends on the force applied by the operator, each shop’s angles will be a little bit different.
Another option is to use a flap disc. This requires the use of a coated abrasive rated for aluminum. Ceramic oxide discs are popular for this because they have many more fracture points built into the design, so that it breaks down slower than a standard aluminum oxide disc. With any disc you use, however, it’s important that it have a lubricant or top side coating to cut down the friction and, in the process, the heat generated. Heat is always the enemy; it not only affects the base metal, but it also affects the consumables. With the proper coating, it will run cooler, preventing the material from sticking as quickly to the disc.
There will, of course, be a difference between each angle using a flap disc as well. A bevel burr is a third option. These come in 30- and 45-degree angles and create a more consistently shaped bevel, depending on how the bevel is designed. There are models now that are designed similarly to a router, in that they have a top “shelf” to help guide you along the edge of the material, which creates greater accuracy. Burrs designed for use on aluminum tend to have deeper flutes to allow the soft material to be pulled away from the surface and out of the tool more easily.
Another option is to use carbide inserts attached to a disc, which is then attached to a right-angle grinder. This is something that is unique to PFERD and is called Alu Master. Using carbide inserts means that no dust is being created—you are removing chips and chunks instead, which, from a health and safety standpoint, is a positive. There is also no smell associated with using it, and it is a faster process. However, the health and safety aspect may be the most critical consideration on the shop floor.
The final question of the three proposed earlier comes into play when the finishing process begins. What is your pain point? What sort of finish are you trying to achieve? Because that will determine what abrasives to use.
A linear finishing tool will provide a nice vertical or horizontal scratch pattern, if that is the finish you are looking for. A non-woven material, usually around 180 grit, will provide a nice non-directional finish, if that is your goal. A turned finish is achievable with a special tool, and a mirror finish is possible using a non-woven pad with a scratch rate of 1,800 grit or equivalent. A brighter finish can be achieved by switching to a felt pad and using a polishing paste.
Using carbide inserts to remove material means that no dust is being created—you are removing chips and chunks instead, which, from a health and safety standpoint, is a positive. There is also no smell associated with using it, and it is a faster process.
The key to working with aluminum is ensuring that all the consumables you use are rated for the base material you are preparing. Making sure that you don’t contaminate the material, are dispersing heat, and are reducing consumable loading are all important.
Jim Sucharski is business developer—burrs, coated, Cat 7 & LDCO, and Neil Otis is senior product manager at PFERD Inc., pferd.com.
Business Developer—Burrs, Coated, Cat 7 & LDCO
See More by Jim Sucharski
See More by Neil Otis
Read more from this issue
Subscribe to Canadian Fabricating & Welding
Find Canadian Fabricating & Welding on Facebook
Find Canadian Fabricating & Welding on Twitter
Keep up to date with the latest news, events, and technology for all things metal from our pair of monthly magazines written specifically for Canadian manufacturers!
Easily access valuable industry resources now with full access to the digital edition of Canadian Metalworking.
Easily access valuable industry resources now with full access to the digital edition of Canadian Fabricating & Welding.
See how easy it is to change out tooling on your impact wrench or mag drill with the world's first modular quick-change cutting and drilling system. Switch between applications quickly and effortlessly. Use with a FEIN impact or mag drill for maximum power and versatility.
© 2024 FMA Communications Canada, Inc. All rights reserved.

Metal Grinding Disc Not yet registered? Sign up